Gotta Catch ‘Em All, Pokémon! Anyone with a little one into Pokémon knows that catch-phrase like the back of their hand. My seven-year-old son is officially obsessed with Pokémon so making these DIY Pokémon Ornaments for him just seemed so fitting. Check out my easy instructions below.
Thank you for reading this post, don't forget to subscribe!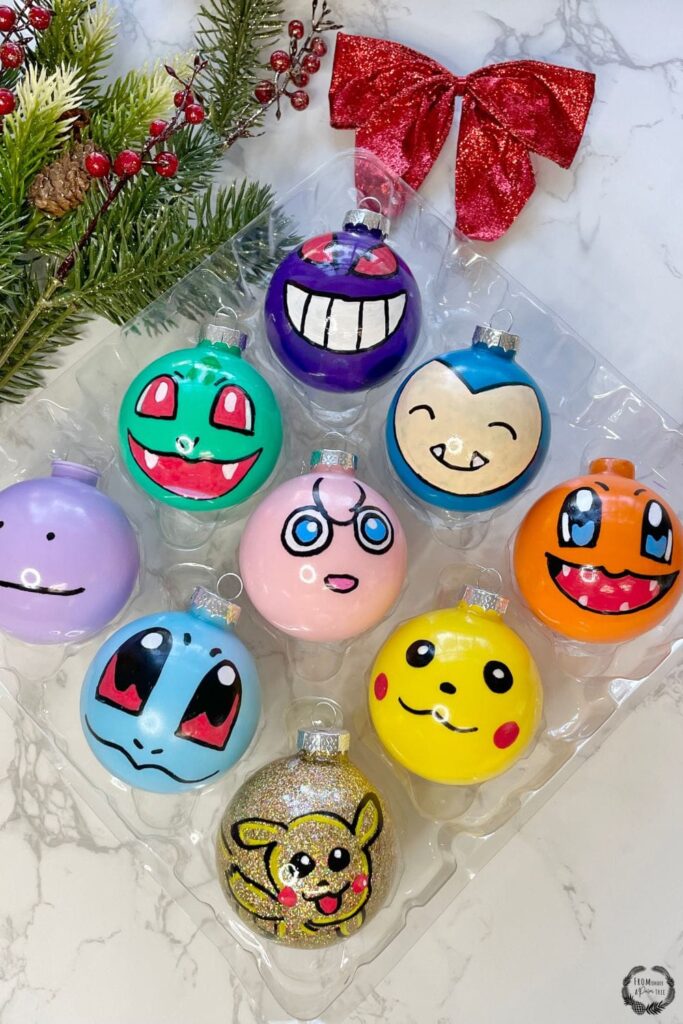
I don’t usually make ornaments but my son spotted these online for a hefty price and my immediate thought was, “I can make that”! I wasn’t sure he’d say yes, OK Mom go ahead and make me those, but of course, he did. So I got right on it and with a few supplies they were actually quite easy to make. If you’re into DIYs and crafts, you may already have most of the supplies on hand. If not, a quick trip to Michaels or Walmart will get you everything you need. Now, if you’re not into crafts and DIY projects, you can purchase these adorable Pokémon ornaments online here.
In this post, you’ll find an easy tutorial for DIY Pokemon Ornaments.
DIY Pokémon Ornaments


Otherwise, let’s get to it.
Materials Needed
Set of Clear Glass or Plastic Ornaments


 Assorted Acrylic Paints


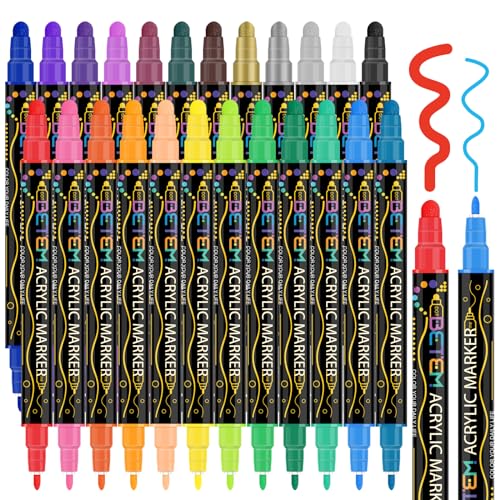
Acrylic Paint Markers

Clear Gloss

Ornament Anchors


Egg Carton or Small Paper Cups
Fine Gold Glitter


Directions
Remove tops from ornaments.
Pour a generous amount of paint into the ornament and swirl around to cover the inside entirely. When fully covered, place into an egg carton or cup to drain the excess paint. Continue this with all of the ornaments. I did only 1 coat on this process.
When fully dry, draw Pokémon faces onto the ornaments. I used acrylic paint markers from Amazon. Some colors may need additional coats. Wait until the first coat is fully dry to go over them again to avoid clumping. If you make mistakes this paint can be wiped off easily when still wet. Let them fully dry before sealing.

Once they are fully dry, it’s time to seal the ornaments.
I used clothes pins to prop ornaments up and spray them with a clear gloss. Clip the clothespin to something like a bowl, box, or cup – something stable. Then, carefully place the ornament’s hole over the clothespin and spray a few coats to seal the paint on the outside of the ornament.
Once fully dry and satisfied with the look, put the tops back on the ornaments and tie a ribbon.

I love the way these DIY Pokémon Ornaments turned out! They’re truly one of my favorite DIY projects and they look great on my son’s Christmas tree. They also make a great gift for any Pokémon lover this holiday season.
Check out our best-selling PRINTABLE on Etsy!

Related Posts:
DIY Christmas Tree Wrapping Paper
DIY Snowman Ornament

If you liked our DIY Pokémon Ornaments please pin and share.
This post contains affiliate links and advertisements. Affiliate links and affiliate ads help support From Under A Palm Tree. They help pay for web hosting, email delivery, domain registration, and other various fees that help keep our blog operational. We appreciate your support!

No products found.
No products found.
No products found.
No products found.
No products found.
No products found.
No products found.
No products found.
No products found.
No products found.
No products found.
No products found.
No products found.
No products found.
No products found.

Hi! I’m Meagan and I’m a 41 year old mom of a high energy almost 9 year old, happily navigating my way through the little boy years. I’ve been married for 14 years. I met my husband over 20 years ago in high school; we got married 10 years later after graduating from the University of South Florida. I currently help run a family business with my parents while blogging about my life and love of DIY projects!
When I’m not at a kids sports game, I enjoy spending time with my family on a beach anywhere. I also love decorating and organizing, fun DIY projects, bargain shopping, and eating out or in! I also love Barbecue anything and a good show or movie on Netflix.

Leave a Reply