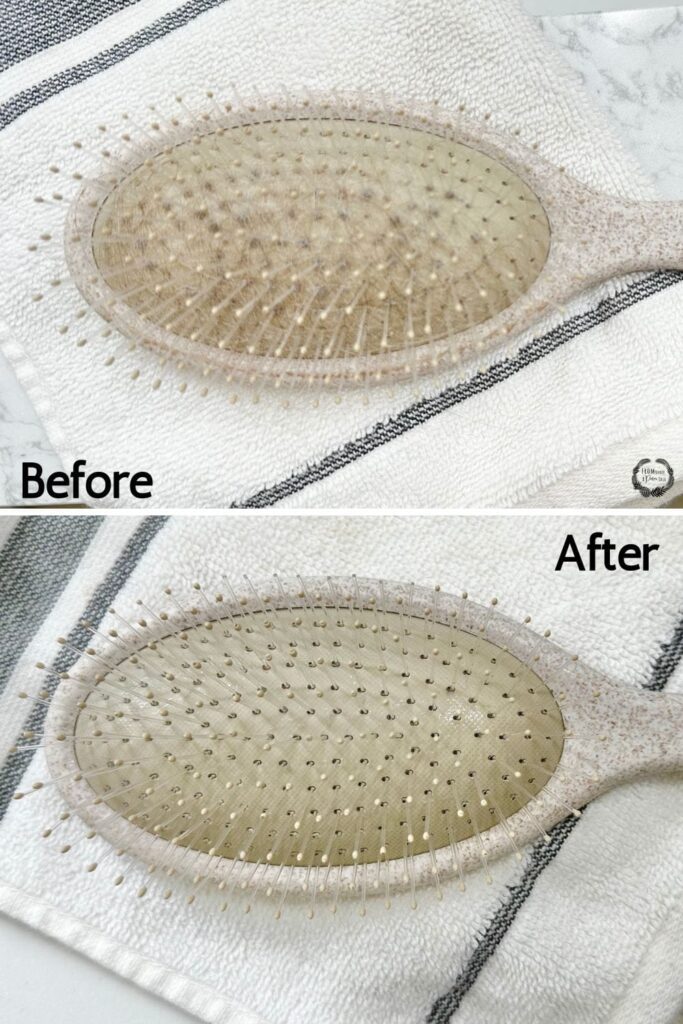
Are you sick of replacing your hairbrushes every few months? If you’re looking for a way to save money and keep your hair brushes clean and hygienic, we’ve got an easy DIY Hairbrush Cleaning Solution you’ll love.
Thank you for reading this post, don't forget to subscribe!Hairbrushes collect a surprising amount of buildup from hair products, natural oils, dust, and loose strands. Regularly cleaning your hairbrush not only extends its life but also helps maintain scalp health by preventing the transfer of dirt and bacteria. Instead of purchasing expensive commercial cleaners, why not make your own DIY hairbrush cleaning solution with a few simple household ingredients? Follow this easy guide to keep your brushes clean and fresh.

I’m sure that cleaning your hairbrush isn’t usually at the top of your to-do list, with the million other things to do. And, if you’re like most, when the buildup gets bad enough, you probably just end up replacing it. What if I told you that this DIY Hairbrush Cleaning Solution is not only simple and cheap, but you probably already have everything in your cabinet to make it!
I love this DIY Hairbrush Cleaning Solution so much that I may just never buy another hairbrush again! Plus it’s very similar to our DIY Makeup Brush Cleaner and DIY Ring Cleaner so, If you want to knock out three chores at once have at it!

In this blog post, you’ll find a DIY Hairbrush Cleaning Solution
Why Clean Your Hairbrush?
A dirty hairbrush can accumulate:
Residual hair products (like hairspray and gels)
Dead skin cells
Natural scalp oils
Dust and lint
Bacteria and fungi
More Reasons to Clean Your Hairbrush
Using a dirty brush can lead to greasy hair and scalp irritations. A good cleaning routine ensures that your hair stays healthy and fresh. Here’s why using an unclean hairbrush can be bad for you:
Promotes Bacteria and Fungi Growth: The accumulation of oils, dirt, and moisture in your brush creates an ideal breeding ground for bacteria and fungi, which can lead to scalp infections and dandruff.
Reintroduces Dirt and Oil: Every time you brush with a dirty tool, you’re spreading old oils and debris back onto your freshly washed hair, making it look greasy and dull much faster.
Can Cause Scalp Irritation and Breakouts: If bacteria and product buildup transfer to your scalp, it can lead to itchiness, inflammation, and even clogged hair follicles.
Reduces Hairbrush Effectiveness: A clogged and dirty brush won’t glide through your hair as smoothly, making detangling more difficult and possibly leading to unnecessary breakage.
Tip: These are also great reasons to change your pillowcase often!
DIY Hairbrush Cleaning Solution Recipe
You only need a few simple ingredients to make an effective, non-toxic hairbrush cleaning solution:
Ingredients:
warm water
2 tablespoons of baking soda
1 tablespoon of Dawn dish soap
2 tablespoons of white vinegar
Optional: A few drops of tea tree oil (for its antibacterial properties)
Supplies:
A small cleaning brush or pick ( I used a hairbrush cleaning tool)
Toothbrush
A bowl (I used a clean sink)
A towel
Step-by-Step Cleaning Process
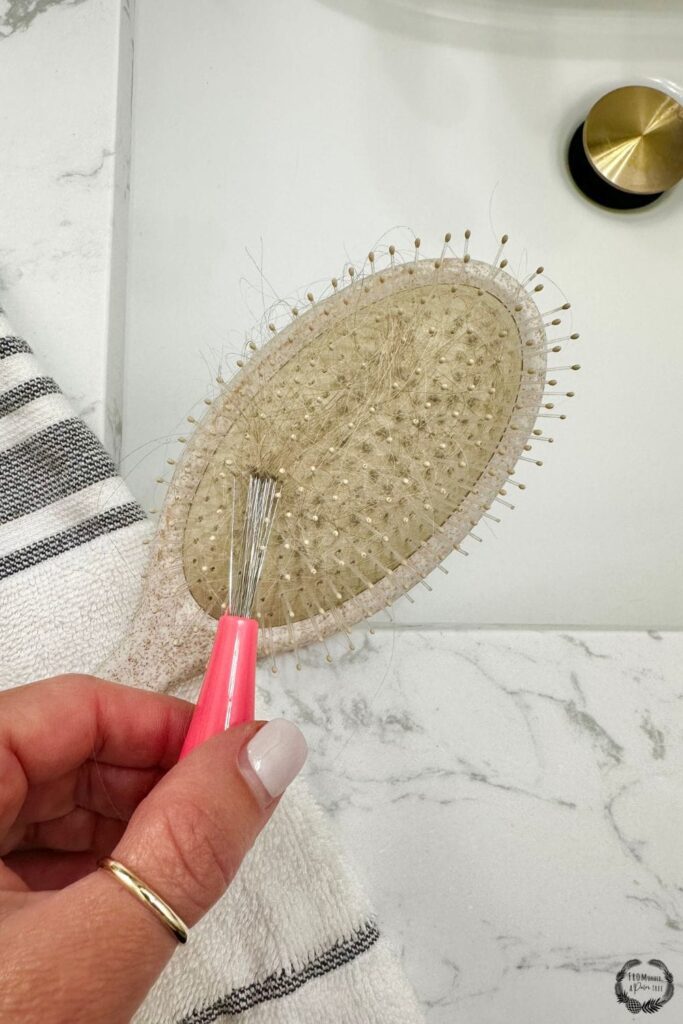
Remove Hair from the Brush
Use your fingers, a comb, or a hairbrush cleaning tool to lift and remove any trapped hair from the bristles.
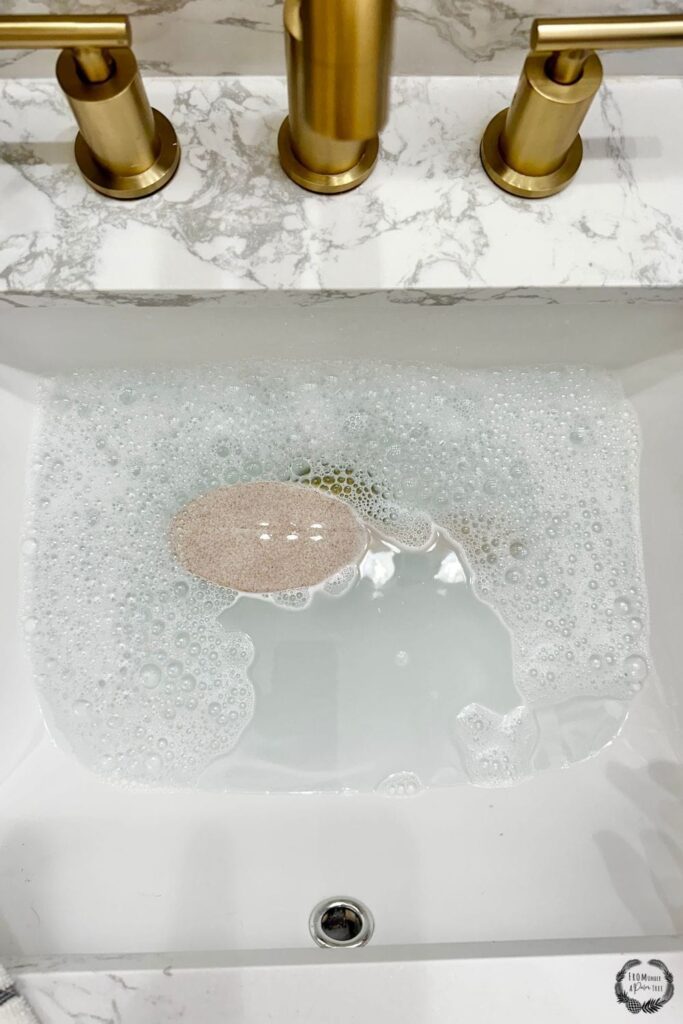
Prepare the Cleaning Solution
In a bowl or a clean sink, mix the warm water, baking soda, Dawn soap, vinegar, and tea tree oil. Stir well until the ingredients are dissolved.
Soak the Hairbrush
If your brush is plastic or metal, let it soak in the solution for about 3o minutes. Avoid soaking wooden brushes. Excess moisture can damage them.
Scrub the Bristles
Dip a toothbrush or small cleaning brush into the solution and gently scrub the bristles and base of the brush to remove any remaining debris and buildup.

Rinse and Dry
Rinse the brush under warm running water. Shake off excess water and lay it bristle-side down on a towel to air dry completely before using it again.
How Often Should You Clean Your Hairbrush?
Weekly: If you use a lot of hair products or have an oily scalp.
Biweekly: If you use minimal styling products and have normal to dry hair.
Monthly: If you rarely use styling products and don’t notice visible buildup.
Final Tips for Keeping Your Hairbrush Clean
Remove hair from the bristles daily or after every use.
Avoid using excessive amounts of hair products that contribute to buildup.
Store your brush in a clean, dry place to prevent dust accumulation.
Consider replacing your hairbrush every 6-12 months for optimal hygiene.
By following this DIY cleaning method, you’ll keep your hairbrush in top condition while ensuring healthier hair and scalp. Give your brush the care it deserves, and enjoy a fresher hair routine!
Check out our Best-Selling Etsy Printable

Related Posts:
10 Personal Care Uses for Baking Soda


This post contains affiliate links and advertisements. Affiliate links and affiliate ads help support From Under A Palm Tree. They help pay for web hosting, email delivery, domain registration, and other various fees that help keep our blog operational. We appreciate your support!

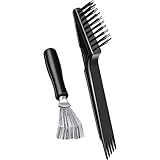
- Practical function: these hair brush cleaners can thoroughly clean the hair comb; First, use the plastic brush side of the black double-headed hair cleaning brush; Second, use the side of the nylon bristles; Last, use the mini hair cleaning brush to clean the thin hair
- Reliable material: adopting quality wood, nylon and metal material, not easy to break and deform, easy to clean after soiling
- Package includes: 1 piece black double-headed hair cleaning brush and 1 piece mini hair cleaning rake with black wooden handle
- Easy to carry: small size and light weight; The comb brush is fit for home, hair salon and even for personal use, it is also a good choice for travel
- Convenient and portable: the mini cleaning brush can also be placed directly in your pocket or bag; You can clean the small comb in your bag when you go out

Hi! I’m Meagan and I’m a 41 year old mom of a high energy almost 9 year old, happily navigating my way through the little boy years. I’ve been married for 14 years. I met my husband over 20 years ago in high school; we got married 10 years later after graduating from the University of South Florida. I currently help run a family business with my parents while blogging about my life and love of DIY projects!
When I’m not at a kids sports game, I enjoy spending time with my family on a beach anywhere. I also love decorating and organizing, fun DIY projects, bargain shopping, and eating out or in! I also love Barbecue anything and a good show or movie on Netflix.

Leave a Reply